Absolutely THE Best Way to Remove Paint From Spindles
What is THE best way to remove paint from spindles? Don't do it. You're welcome. That is all.
Still reading? OK, the next best way to remove paint from spindles? Hire someone else to do it. Whatever quote they give you, do not bat an eye; just pay them and know it is money well spent. Trust me they didn't charge you enough.
Still reading? Really? OK, before you read further please go back and re-read paragraphs 1 and 2. If you're still determined then I warn you it is a long, messy, and tedious process. I know -- trust me.
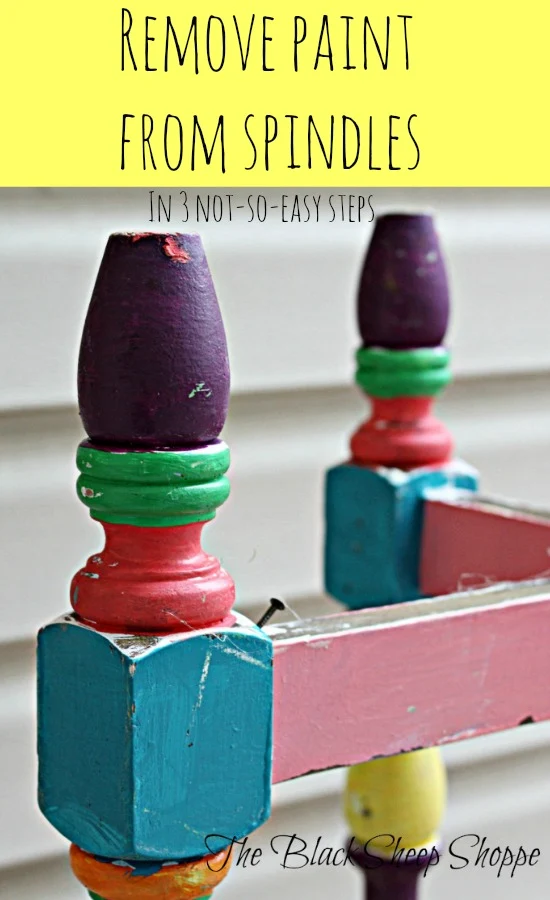
I don't know what type of paint this was, but it was STUBBORN. For the table top I used an orbit sander and three applications of Citristrip plus an additional sanding. It took many hours, so I knew the spindles were going to be a chore to say the least.
The first not-so-easy step is to loosen and scrape the paint using a heat gun and a paint scraper / putty knife.
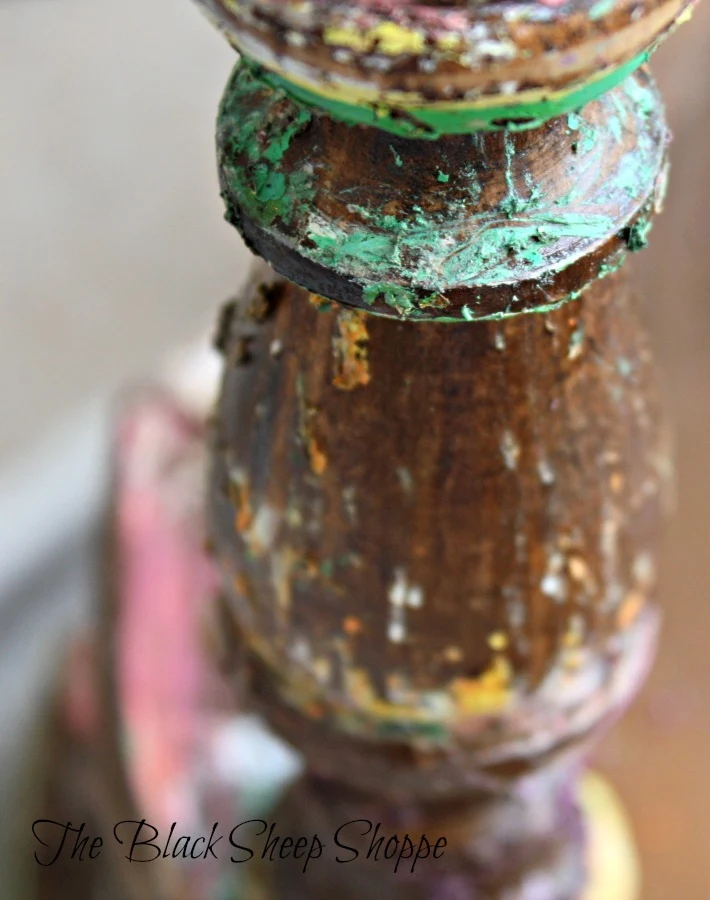
The heat gun removed the majority of the paint, but there was still some paint remaining.
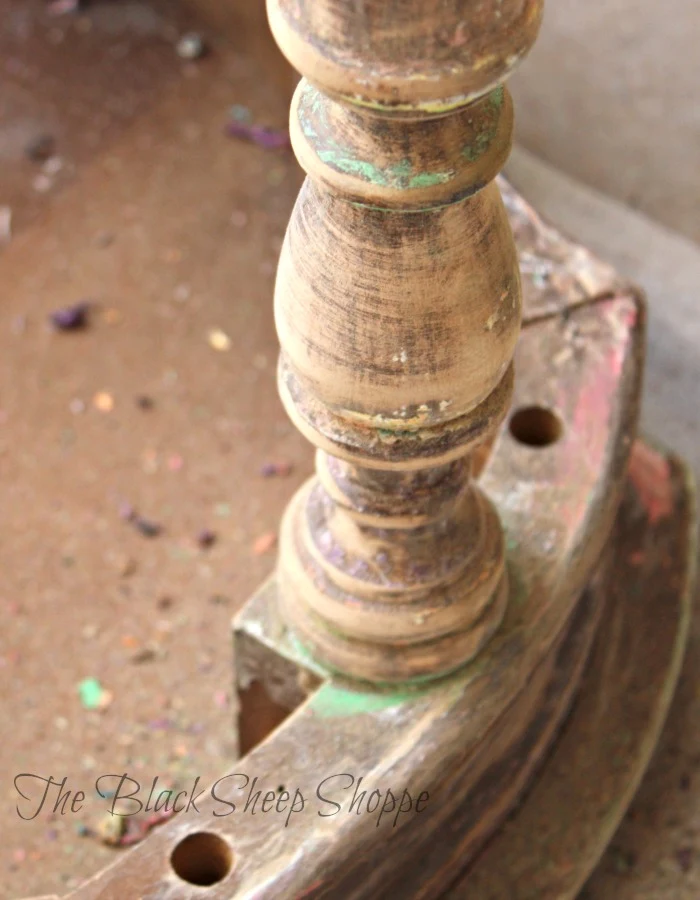
The second not-so-easy step is to use 220-grit sand paper (I used a flexible pad so it was easier to grip it around the spindles) to remove the remaining paint. But as you can see there is still some residual paint.
The third not-so-easy step is to apply CitriStrip and scrub the last of the remaining paint off with steel wool and a toothbrush for the little nooks and crannies.
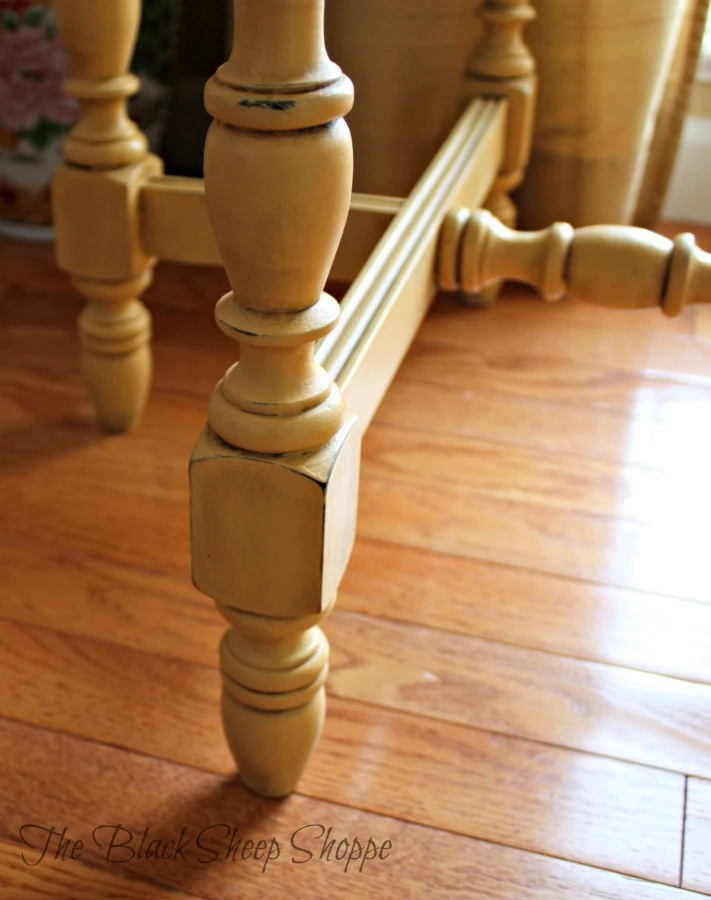
And here's the "after" photo showing all the paint removed. All-in-all it took me many hours of work over the period of a few days to get all the paint removed.
Would I do it again? No way! Unless there was an antique hiding underneath the paint and then I might consider it. But this particular project definitely wasn't worth the work involved. But life is full of lessons, so next time I will consider the amount of work a project will take before purchasing.
SUPPLY LIST (affiliate links):
- Orbit sander (for the top)
- Heat gun
- CitriStrip
- Paint scraper
- Steel wool
- Toothbrush
- 220-grit sandpaper
P.S. Here's a few shots of the newly finished table:


You are my hero. I am in a similar situation and you have the best article on the internet about spindles! Thanks!
ReplyDeleteThanks Laura! And best of luck with your project!
DeleteI love the finished piece! Those spindles looked very daunting! I've also heard to apply the stripper and wrap the entire project in plastic wrap over night... the heavy duty kind you buy on a spool in the packing/moving supply section of Home Depot. It keeps the stripper from drying out and thus works better? Going to try both methods soon. :)
ReplyDeleteYes using the plastic wrap should make the job easier. Good luck with your project!
DeleteIt was definitely worth it! The finished product is beautiful! I plan to do the same with the spindles in my staircase, hope it works just as well, thank you for the tips :)
ReplyDeleteThank you Abbey and good luck with your project!
DeleteBeautiful finished table
ReplyDeleteThank you.
DeletePlanning on doing a set of vintage wood spindle bunk beds for the 18 inch dolls. I am going to try your process to make it work. they have been painted over several times and the paint is now chunky and not appealing. Based on the age and the fact they are wood, I am hoping to strip the paint and then stain the spindles. fine delicate work, but I think once it is done (I plan to give it to my granddaughter for Christmas) I am sure she will likely keep them for her children. Thank you for this article.
ReplyDeleteIt sounds like a big project, but the end results will be lovely. Good luck!
DeletePlanning on doing a set of vintage wood spindle bunk beds for the 18 inch dolls. I am going to try your process to make it work. they have been painted over several times and the paint is now chunky and not appealing. Based on the age and the fact they are wood, I am hoping to strip the paint and then stain the spindles. fine delicate work, but I think once it is done (I plan to give it to my granddaughter for Christmas) I am sure she will likely keep them for her children. Thank you for this article.
ReplyDeleteI like the first two ways.
ReplyDeleteI am in the middle of removing paint from a little table that was my grandmother's never again!!!
Thank for your great ideas.
Thanks Kim! I am glad you found the information helpful. I think this was one of the most challenging projects that I worked on. Best of luck with your project!
Delete